My 6DOF Robotic Arm Journey - Student Reflection of Robotic Arm Camp by Team X
- Arjun Mahajan

- Sep 30, 2025
- 6 min read

It’s one thing to see an automated robot, but it’s entirely different to see an automated robot that you built—one that you created—come to life. As I watched my 6DOF (Six Degrees of Freedom) robotic arm gracefully pick up a pencil and drop it in a pencil holder, I couldn’t help but reflect on the 15-day journey of taking the 6DOF Robotic Camp hosted by Team X. It started with CADing parts for fabrication, then milling it with CNC and laser-cutting to fabricate a parts of the arm. The assembly, the MDF base, the formation of the extension wires, and the programming. So much we had done with the guidance of the Team X coach and mentor, Neeraj Juneja who shared with us the quote:
"Tell me, I’ll forget. Show me, I may remember. But involve me, and I’ll understand." - Chinese Proverb

We were truly involved, learning how to operate a plethora of tools and different drill bits that we could use. I couldn't believe the incredible experience I was able to gain from this Robotic Arm Camp. Join me as we dive into the journey of constructing this incredible robotic arm.
First, What is a 6DOF Robotic Arm?
"6DOF" stands for Six Degrees of Freedom. Think of it like your own arm: you have a shoulder that can move up-and-down, forward-and-back, and rotate; an elbow that can bend; and a wrist that can pivot and twist. Those six unique movements are the six degrees of freedom. It’s this incredible flexibility that makes 6DOF arms the standard in advanced manufacturing, surgery, and other fields replicating a human arm beautifully.
Phase 1: Designing and Use of Power Tools (Days 1-4)
The project began with a challenge that set the tone for everything to follow: we each had to design and fabricate a unique, missing part for our arm. My mind started racing and finalized with a multi-part solution using CNC-cut aluminum parts attached to a threaded aluminum block. It was an ambitious idea, especially since I had yet to touch a single tool in the workshop.
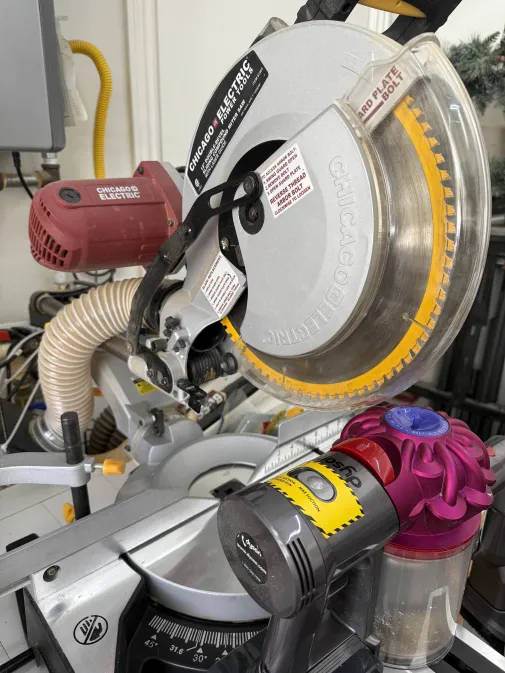
After finalizing the idea for how we wanted to fabricate our items, in the next session we started to learn how to operate the powers tools necessary for fabrication. I’ll never forget my first time using the Sliding Compound Miter Saw. It was so loud and fast that the large blade seemed to absolutely devour the wood, and I learned instantly the importance of holding the workpiece securely. Coach Neeraj showed us a pro-level trick: the blade teeth are slightly thicker than the saw’s body, and you are able to use the saw body to "shave off" imperfections

for a perfectly straight cut. We then moved to the Stationary Band Saw, a tool of quiet precision that could cut more precise, but smaller chunks compared to the Sliding Compound Miter Saw. This tool demanded absolute focus—it could just as easily cut your finger if you weren't careful, as you were openly pushing the workpiece through the blade with your hands from a distance.
The Miter Saw had more coverage and secure handle to push through the workpiece. Some more tools were the Table Saw, which was great for long pieces that needed to be cut, with ruler measurement for preciseness, and the Drill Press for screwing holes on materials. We discovered that metal requires special twist drill bits, and that you need a slightly oversized bit to get a true 10mm hole. Out of all the tools, the most nerve-wracking tool was the Dremel; Neeraj stressed the safety precautions, telling us to always direct the blade's path away from our bodies. This applied for all the power tools, but emphasized it even more on the Dremel as the blade could go straight through us, in the case it were to get loose or break off. With that vivid warning in mind, I succeeded in making a precise diagonal cut in a prototype aluminum piece.
Phase 2: CADing, CAMing, and Prototypes (Days 5-9)
With a foundational understanding of fabrication with power tools, we transitioned into CADing our parts needed for fabrication. We were introduced to EstlCAM, the CAM (Computer-Aided Manufacturing) software that allows us to specify the cuts the CNC machine needed to make in the material in order for the CAD design to be created. In CAM, we use CADed .SVG 2D files, and then in the CAM software we are able to specify the depth of the cut needed based on the workpiece material that we are using (in this case, it was thin aluminum). I quickly learned that CAM is a game of extreme precision, where every detail matters.
The most incredible part of this phase was prototyping. Neeraj showed us the magic of watching a laser cutter etch a perfect replica of our digital SVG file into thin cardboard material. We utilized the LaserGrbl software to This low-stakes dress rehearsal was invaluable, allowing us to hold a physical version of our part, test its fit, and identify flaws before committing to expensive aluminum with the CNC machine. When it was finally time for the CNC machine, the process was slow and methodical. After I got the aluminum parts I needed, I drilled screws into an aluminum rectangular block to finish the fabrication of my piece!

Phase 3: Assembly & Electronics (Days 10-13)
This was the phase where the soul of the machine began to emerge. We assembled the robotic arm parts along with our custom fabricated piece. It was awesome to see my custom-fabricated part fit perfectly with the other parts of the arm. But mechanical assembly was only half the battle.

Next, we had to create extension wires for the arm's servo motors to connect to the Arduino controller board. This was needed because when the arm fully extends upwards, the standard servo motor wires wouldn't reach the Arduino board at the base. We learned the intricate art of wiring, spending hours with wire strippers and crimping tools to create perfect extensions. I was even introduced to the heat gun and flame torch for the heat shrink method—a faster, cleaner way to insulate connections between the servo wire and my extension wire. The most symbolic moment was mounting the Arduino to the 12in x 12in MDF base which we had created with the Table Saw. The arm was no longer just a collection of metal and plastic; it now had a brain. It needed a program.
The Finale: Code and Automation (Days 14-15)
The final two days of the build (Days 14-15) were dedicated to the moment of awakening. With our arms fully built and wired, we dove into programming with the Arduino IDE and utilized a 6V battery to power the Servo Board connected to the Arduino.
Our 16th day was Demo Day. Presenting my arm wasn't just showing off a finished product; it was telling the story of every challenge, every mistake, and every breakthrough over 15 intense sessions. Each of us students that had took the camp, showcased our tasks we were able to achieve with the robot, mine being able to pick up a pencil and place it into a pencil holder.
Final Reflection: More Than a Robot
Looking back, I realize I learned so much more than how to use a table saw or write code. I learned how to think critically, how to solve problems when a screw strips or a part doesn't fit, and how to appreciate the profound link between a digital design and a working, physical machine. I learned to be patient, to troubleshoot when things go wrong, and to appreciate the immense satisfaction of creating something with my own hands. I could never have imagined to create something like this prior to the camp and each time I look at my robotic arm, I'm saying to my self, "Man Arjun, you created that ground up all by yourself,".
This project was a masterclass in applied engineering, and I can’t recommend it enough. A special thanks must go to the Team X Coach who was the instructor of the camp, Neeraj Juneja, for not only opening his workshop to us but for creating an environment where we were trusted to learn, empowered to fail, and inspired to understand.


Comments